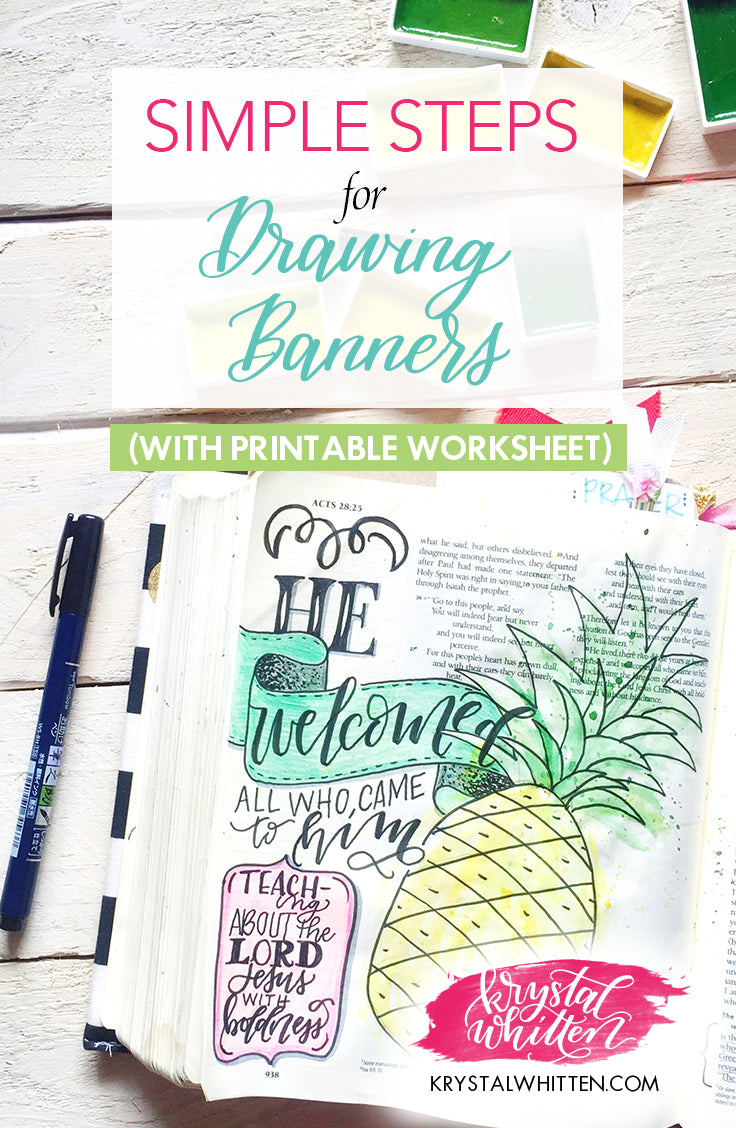

A nicely placed banner will take your design up several notches! They're impressive, and with a little practice, you can be creating some really fun designs with them.
So I'll show you the basics in a 3 different ways, and there's a worksheet at the end that you can download for FREE and print to try it out yourself.
Let's just jump right in.

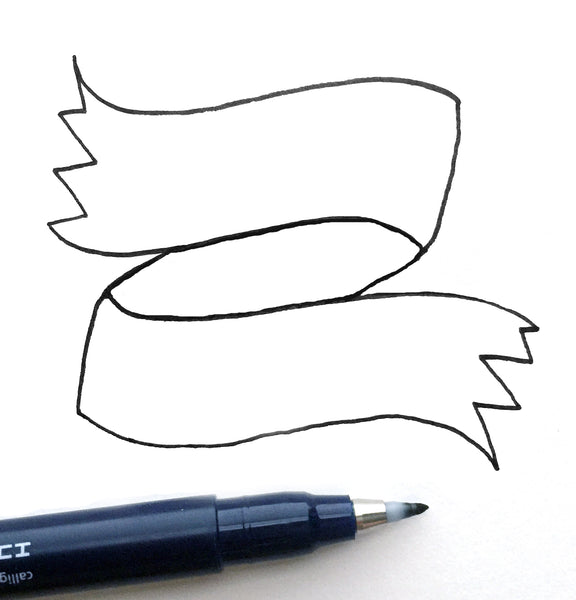
1. Draw a straight line - or as straight as you can - followed by a parallel line below it.

2. Close the two lines to create a rectangle.

3. Draw two lines on each side slightly below the top of the rectangle.

4. Now draw parallel lines just a bit below the rectangle. As you see above, the thickness of the rectangle and the new lines is about the same.

5. Now put a dot inbetween your new parallel lines, just inside a little (not flush with the ends). The dots will create your V-cuts on the tail of the ribbon.

6. Now you can create the V-cut tails by drawing lines from each point to the center dot.

7. Close the tails with two straight lines that attach to the original rectangle.

8. Finally, draw a diagonal line from the corner of the original rectangle to the inside corner of the tail. This creates a folded look.

9. You can shade the fold if you like.

10. Don't forget your lettering!
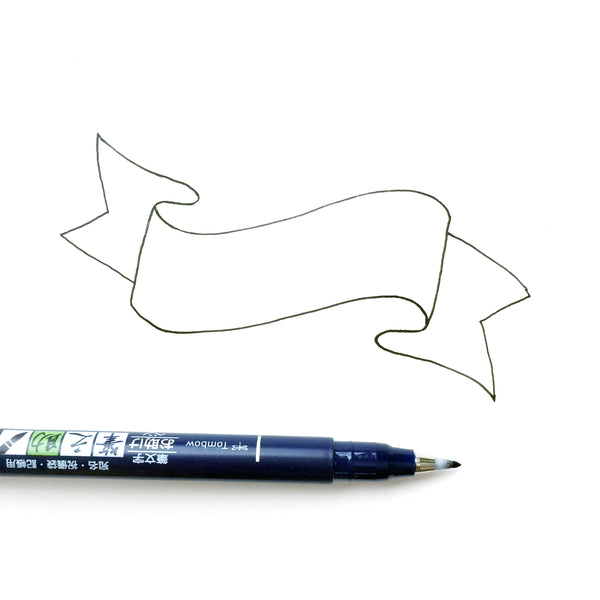
 1. Start off by drawing two curvy parallel lines


Supplies used in this post:
Crossway Books Journaling Bible in ESV, Double Column*
Tombow Fudenosuke Brush Pens*
Crayola Twistables*
Watercolors - Kuretake Gansai Tambi 36 color set*

If you enjoyed this tutorial and want more like it, check out my new book Faith and Lettering: An Inspirational Guide to Creative Lettering & Journaling (Amazon link)
With love and lettering,

*Affiliate links are used in this post. If you try this out, post a picture of your drawing on Instagram using the #krystalwhittenblog tag! I can't wait to see.
THANK YOU! Totally needed that!
It helped me so much I thought would me if I didn’t have this
Thanks Crystal!!! Just had a hard time with the wavy banner. I’ll get the hang of it.😊😊🙏🏽🙏🏽
These were a great way to write a title more creatively!
Thank you for the download! Super helpful!
Thank you so so much for all of these tutorials! I have been lettering for awhile but really want to work on embellishments and adding new elements. I found you on Instagram today. These are so incredibly helpful!!
Thanks Krystal! These are fun!
Thanks for this helpful worksheet. I have been using the banners in my scripting and they really do enhance the page.. :)
Thanks for the worksheet! I love banners!
Comments will be approved before showing up.
Krystal Whitten
Author